|
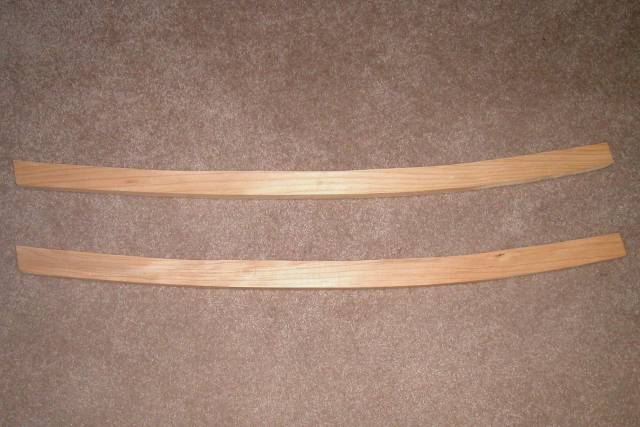
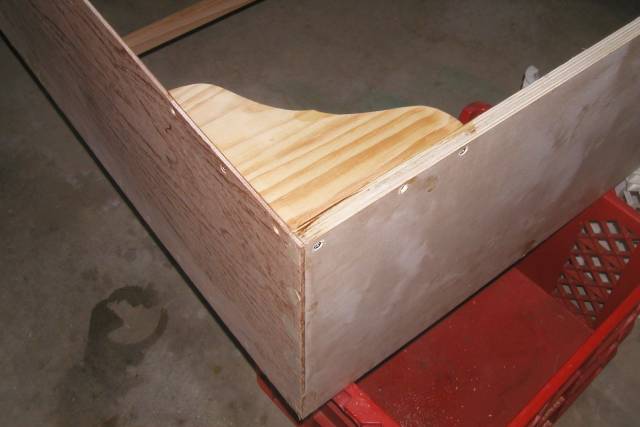
The plans called for the 1x2 log chines to be placed with the
2" surface horizontal and be bent to the bow shape. Since I wanted to place them vertically, I cut the curved portions
from 1x4 stock and lap jointed them to the straight portions.
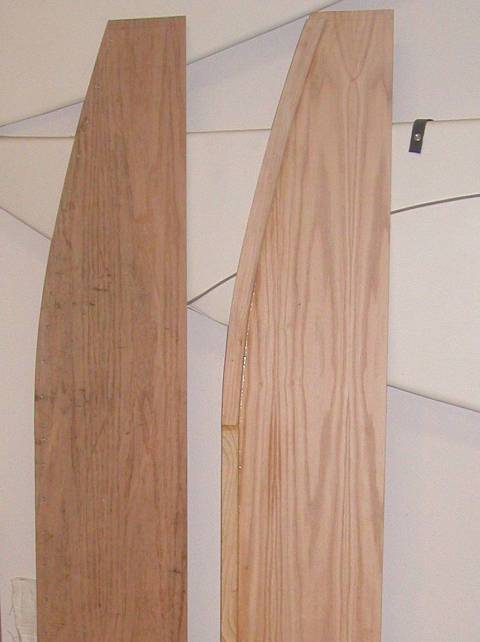
The boat sides are 14" high, 7 ½' long, ¼" oak
plywood. The boat could be as long as 7" 10 ½", but I didnt want it to extend beyond the tailgate of my Ranger pickup.
The front transom is 7" high and the bow curve was made using a fishing rod as a batten. You can see the joined log
chines in this picture.

The sides have been joined to the transoms with waterproof glue and stainless
screws. The cross braces are being installed in this photo. A small piece of scrap plywood clamped to the
chine helped support the braces as I was working alone.
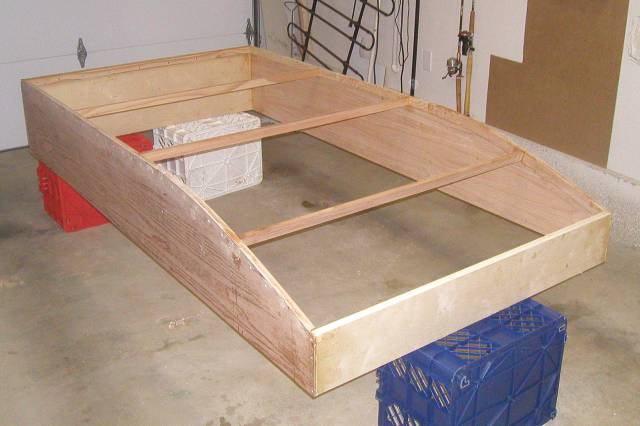
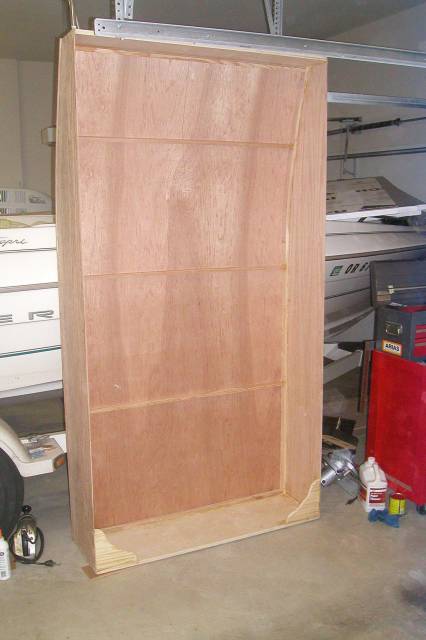
Cross bracing installed and ready to attach the bottom. The reason the chines are
placed vertically is to allow space to put in foam floatation. Most jon boats have fixed seats and the flotation is
placed inside the seat and in the bow compartment. I had a non-attached moveable seat in my inflatable and really liked
it and I wanted that feature in my new boat. Another option was to box in the corners and put foam there, but that would
reduce floor space in an already small boat. I finally hit on the idea of putting foam in the floor and covering it
with a false floor. This method lost no floor space, gave me a smooth floor with no cross braces, and greatly increased
the stiffness of the boat.
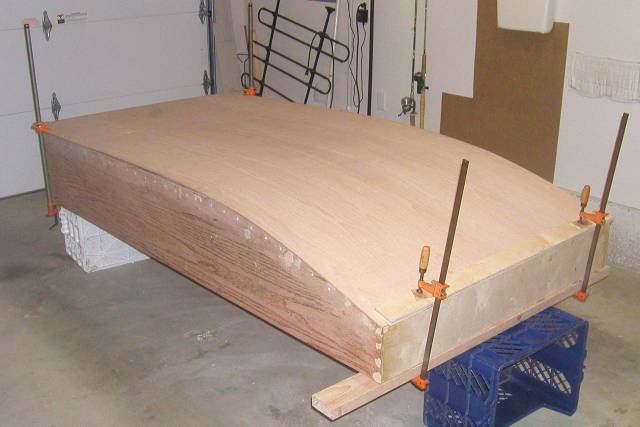
The
plans called for starting from the front and working toward the stern to attach the bottom, but I found it much easier to
start from the back and work forward. Because the front clamps are trying to hold at an angle, they tended to slip very
easily. The bottom is oversize by up to a 1/8" on all sides. It's next to impossible to get everything to line
up perfectly as you are trying to assemble and bend it. Its much easier to allow extra and plane and sand off the excess
later.
The sign at Home Depot said these were shelf brackets, but they looked like
corner gussets to me.
The bottom is attached using glue and screws. The next steps are to install
skids, floatation foam and false bottom.
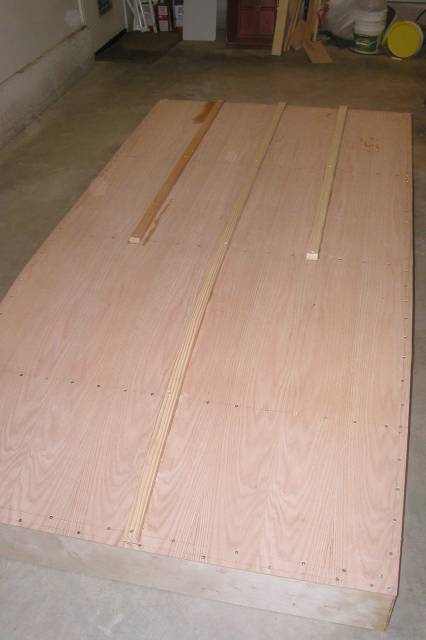
Bottom skids were added
to give additional stiffness to the floor, and give the boat some directional stability and protection.
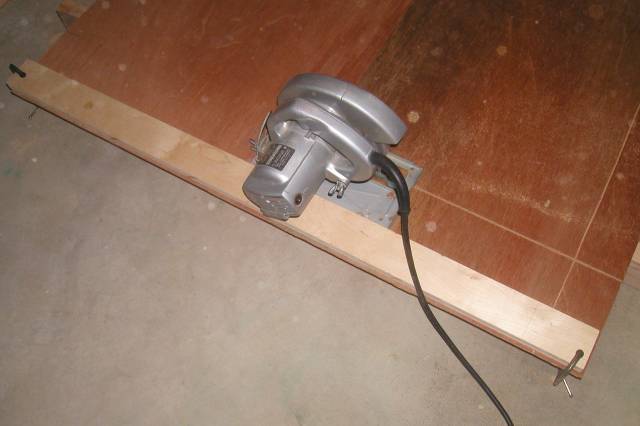
To saw a straight line with a hand saw clamp a piece of straight-edged wood
at the correct offset for your saw.

The
floatation foam cavity is sealed with marine sealant. Be sure and seal the false bottom too.
|